

It was februari 2021 that Home Assistant team announced the ZwaveJS integration as a replacement for the traditional Zwave integration. So i had to migrate, but i was continuously dismissing this :). So if you want to migrate, make sure you use at lease HA 2021.3.x, as there where some good fixes in this release.
I was using the traditional Home Assistant Zwave integration: https://www.home-assistant.io/integrations/zwave
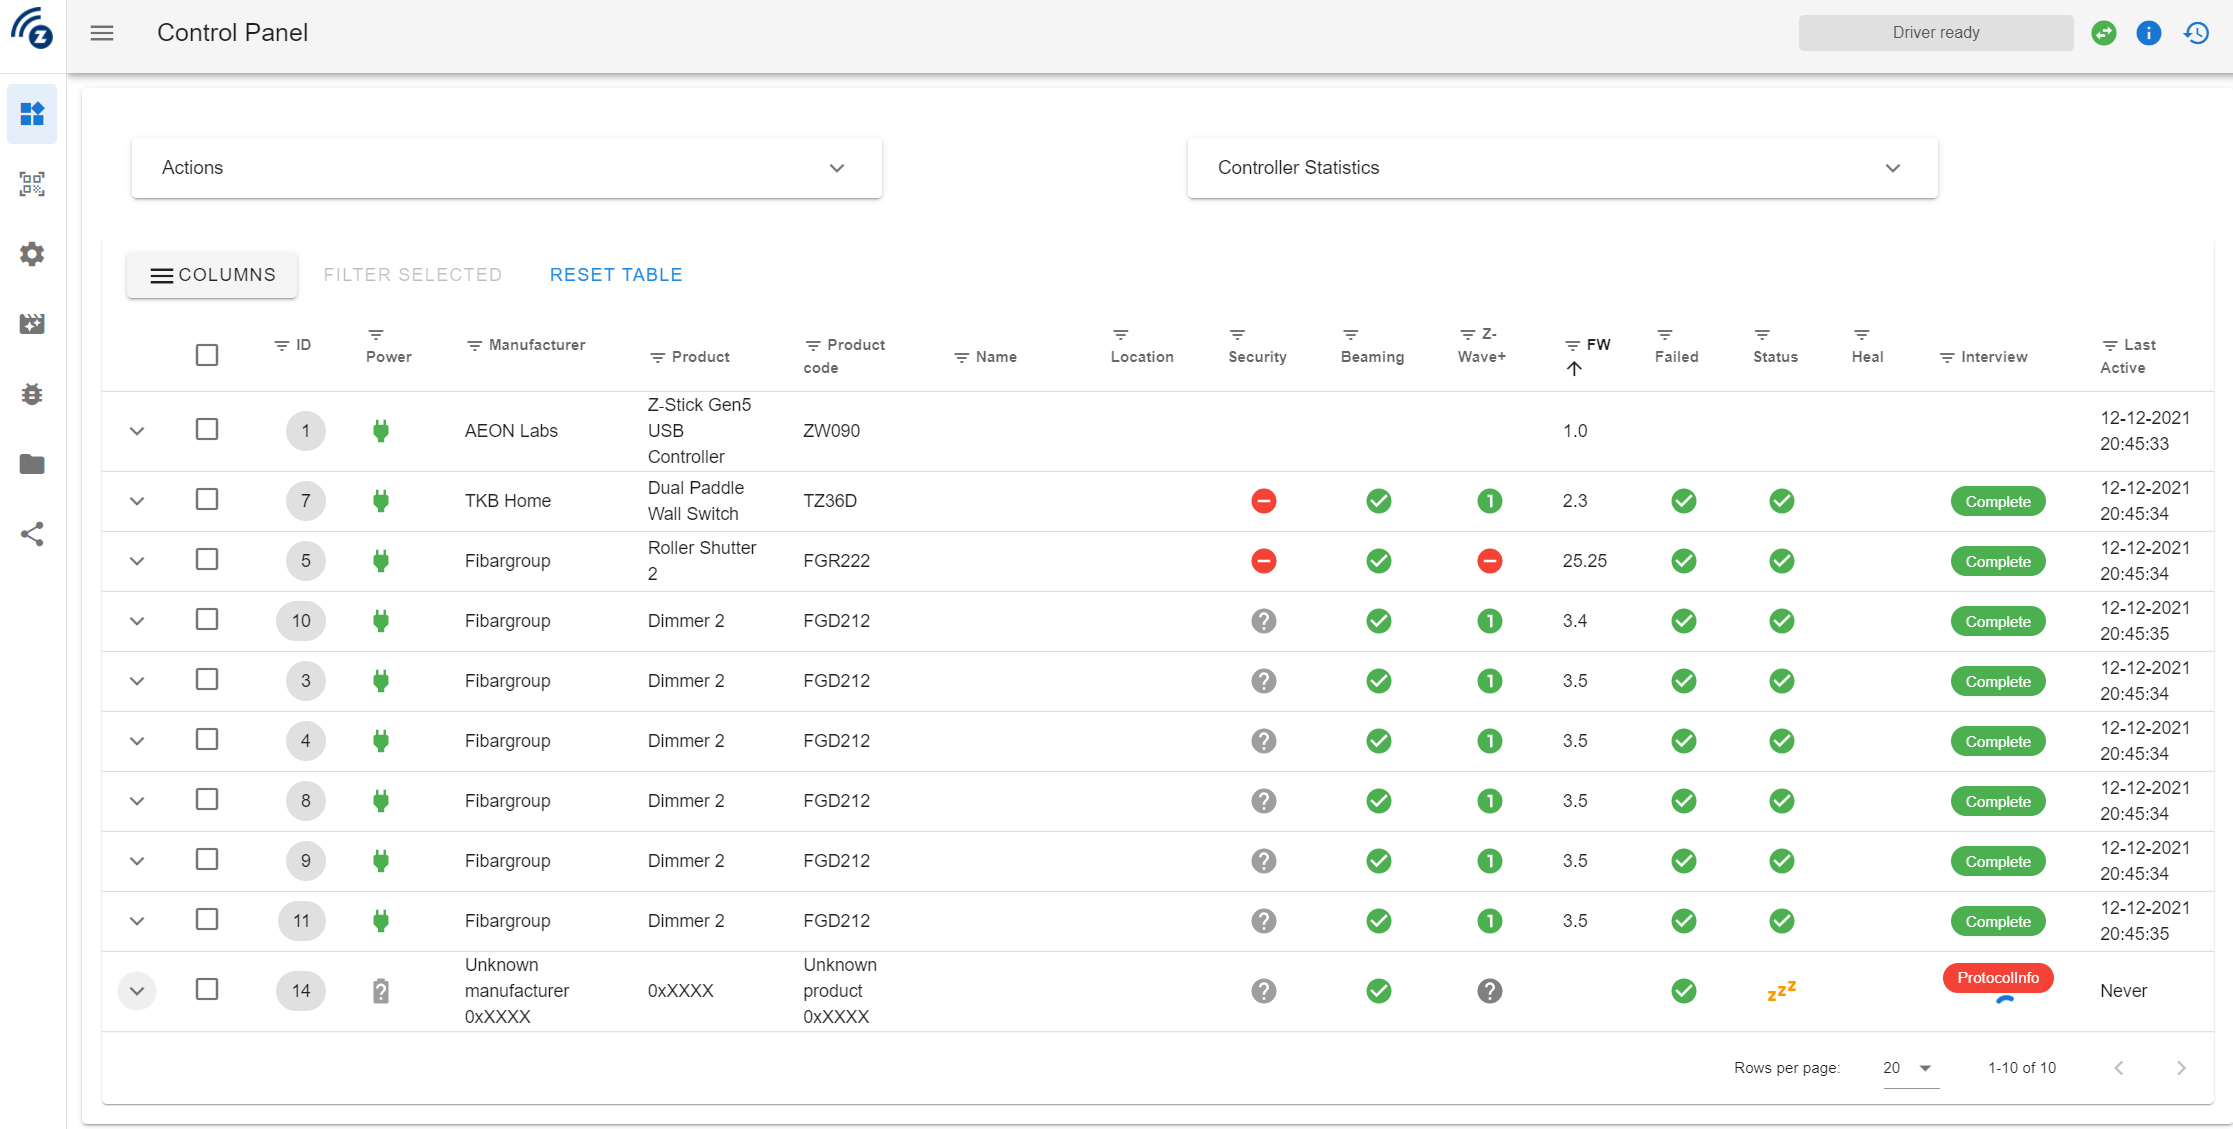
I wanted to migrate to the new ZWaveJS integration: Z-Wave JS – Home Assistant (home-assistant.io) but i don’t want to reconfigure every device. Glad, this isn’t needed! As your devices are on the ZWave stick itself. I am using an Aeotec z wave stick gen 5, but other sticks will do just fine.
I have the Home Assistant Docker based version, so no supervisor, just Docker, with Docker-Compose and yaml files 🙂
I made a little doc to help when you need a migration as i did and get a fancy ZWave Controler panel as bonus:
- First of all, backup.
- Go into Home Assistant Template editor en give in:
{%- for node, zstates in states | selectattr('attributes.node_id', 'in', range(1000)) | groupby('attributes.node_id') %}
{{ node }}:
  {%- for s in zstates %}
  - {{ s.name }}
    {{ s.entity_id }}
  {% endfor %}
{%- endfor %}-
- Save the result to an text file. It will give you the output of all your Node_IDs with the names.
- Now go into your Integration, and Remove the legacy Zwave integration
- Reboot HA and after the Reboot then Shutdown Home Assistant, via Portainer or Docker
- Find your Zwave stick Serial device-ID, you can use the commands:
- First find the bus nr: ls -l /dev/serial/by-id
- Then: udevadm info –query=all –name=/dev/ttyACM1 (fill in the correct busnr)
- Copy the Serial-by-id path. It is important to use the Serial-by-ID path, instead of the normal tty-path, as this can change after a reboot.
- Make a new Docker container, with Docker-Compose. Fill in the parameters serial-by-id:
zwavejs:
    image: zwavejs/zwavejs2mqtt:latest
    container_name: ZwaveJS
    security_opt:
      - seccomp:unconfined
    devices:
      - /dev/serial/by-id/usb-yourdevice:/dev/zwave
    ports:
      - 8091:8091
      - 3000:3000
    volumes:
      - /home/docker/zwavejs:/usr/src/app/store
    restart: always
    environment:
      - TZ=Europe/Amsterdam
- ZWAVEJS_EXTERNAL_CONFIG=/usr/src/app/store/.config-db- Build the container: sudo docker-compose up -d –no-deps –build zwavejs
- Now, open the Web interface of ZwaveJS: http://yourserver:8091
- Configure:
- Go into settings and Enable: ‘Disable MQTT gateway’, as we are using the WebSocket
- Click on Home Assistant and Enable the WS-Server
- Renaming
- Go into the Control section and rename every device, from the values witch saved in the text file previously. You can do so, by clicking on the device and give in a Name
- Make sure that you give it some time, as it can take some minutes to load every Zwave device and let it communicate
- Home Assistant
- Start the Home Assistant container and after booting go into the Integration section
- Add the new ‘Z-Wave JS’ integration
- Fill in the correct IP adress of your ZWaveJS container and leave the port at 3000
Thats it !
Well done
Thanks! This helped me migrating from OZW to ZWaveJS.